Extortion 17 – Tactical Maps
Situation as at:2011-08-06T02:00:00+04:30 in Tangi Valley, Maidan Wardak, Afghanistan.
Click on a map to expand, or click on [Hi-Res] to download a high resolution version.
Extortion 17 flight route showing shooter position in Google Earth.
Key locations in Google Maps.
Complete coordinate set via Data page.
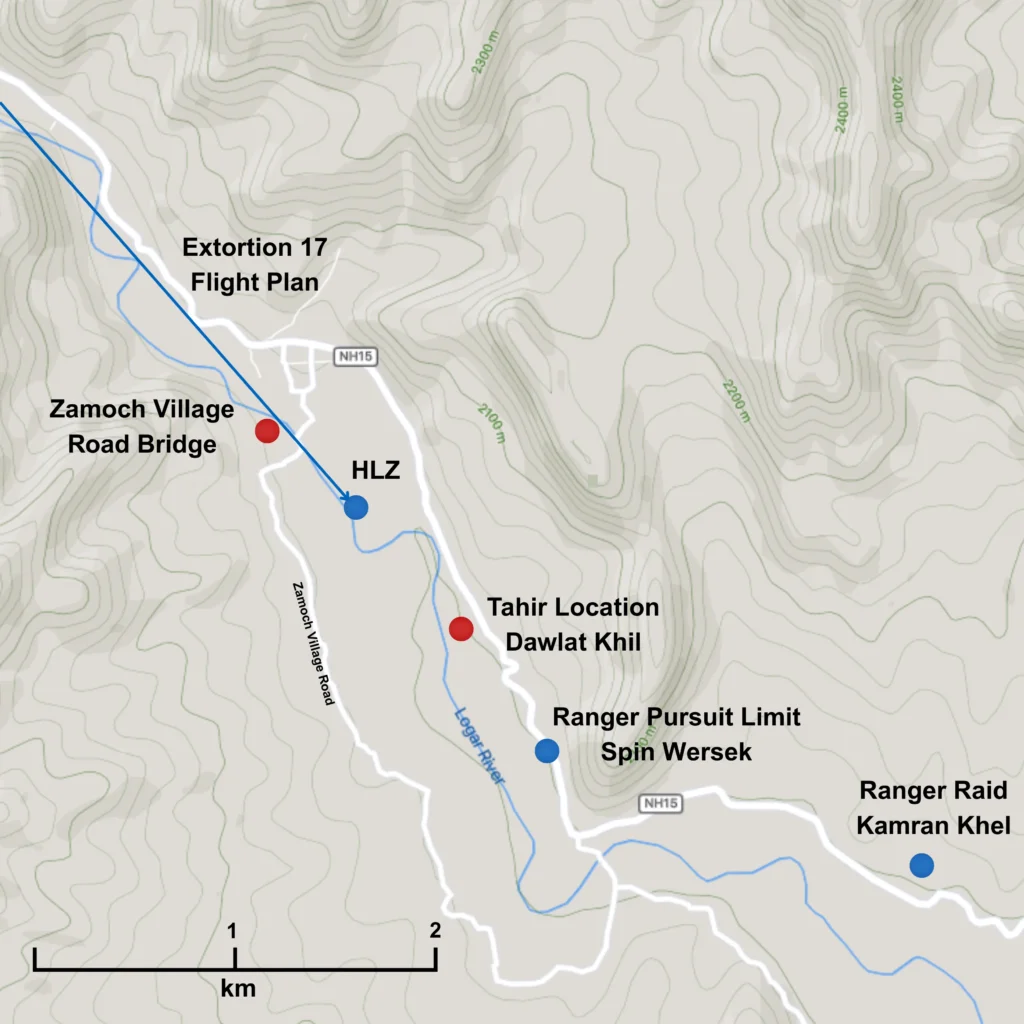
Fig. 1. Overview. Tahir escapes pursuit. After a raid by US Army Rangers in Kamran Khel (SE), the target of the raid, Tahir, is now in Dawlat Khil, 3.3km along the Tangi road from original raid location. The Rangers broke off pursuit at the edge of Spin Wersek, about 1km south of Tahir: he can not go back that way. US forces plan to land an Immediate Reaction Force in a helicopter 800m north west of him: the approx. intended helicopter landing zone (HLZ) is shown. The distance from Tahir’s location to the Zamoch Village Road bridge and his allies is 1.3km. Mapcarta © OpenStreetMap and Mapbox [Hi-Res]
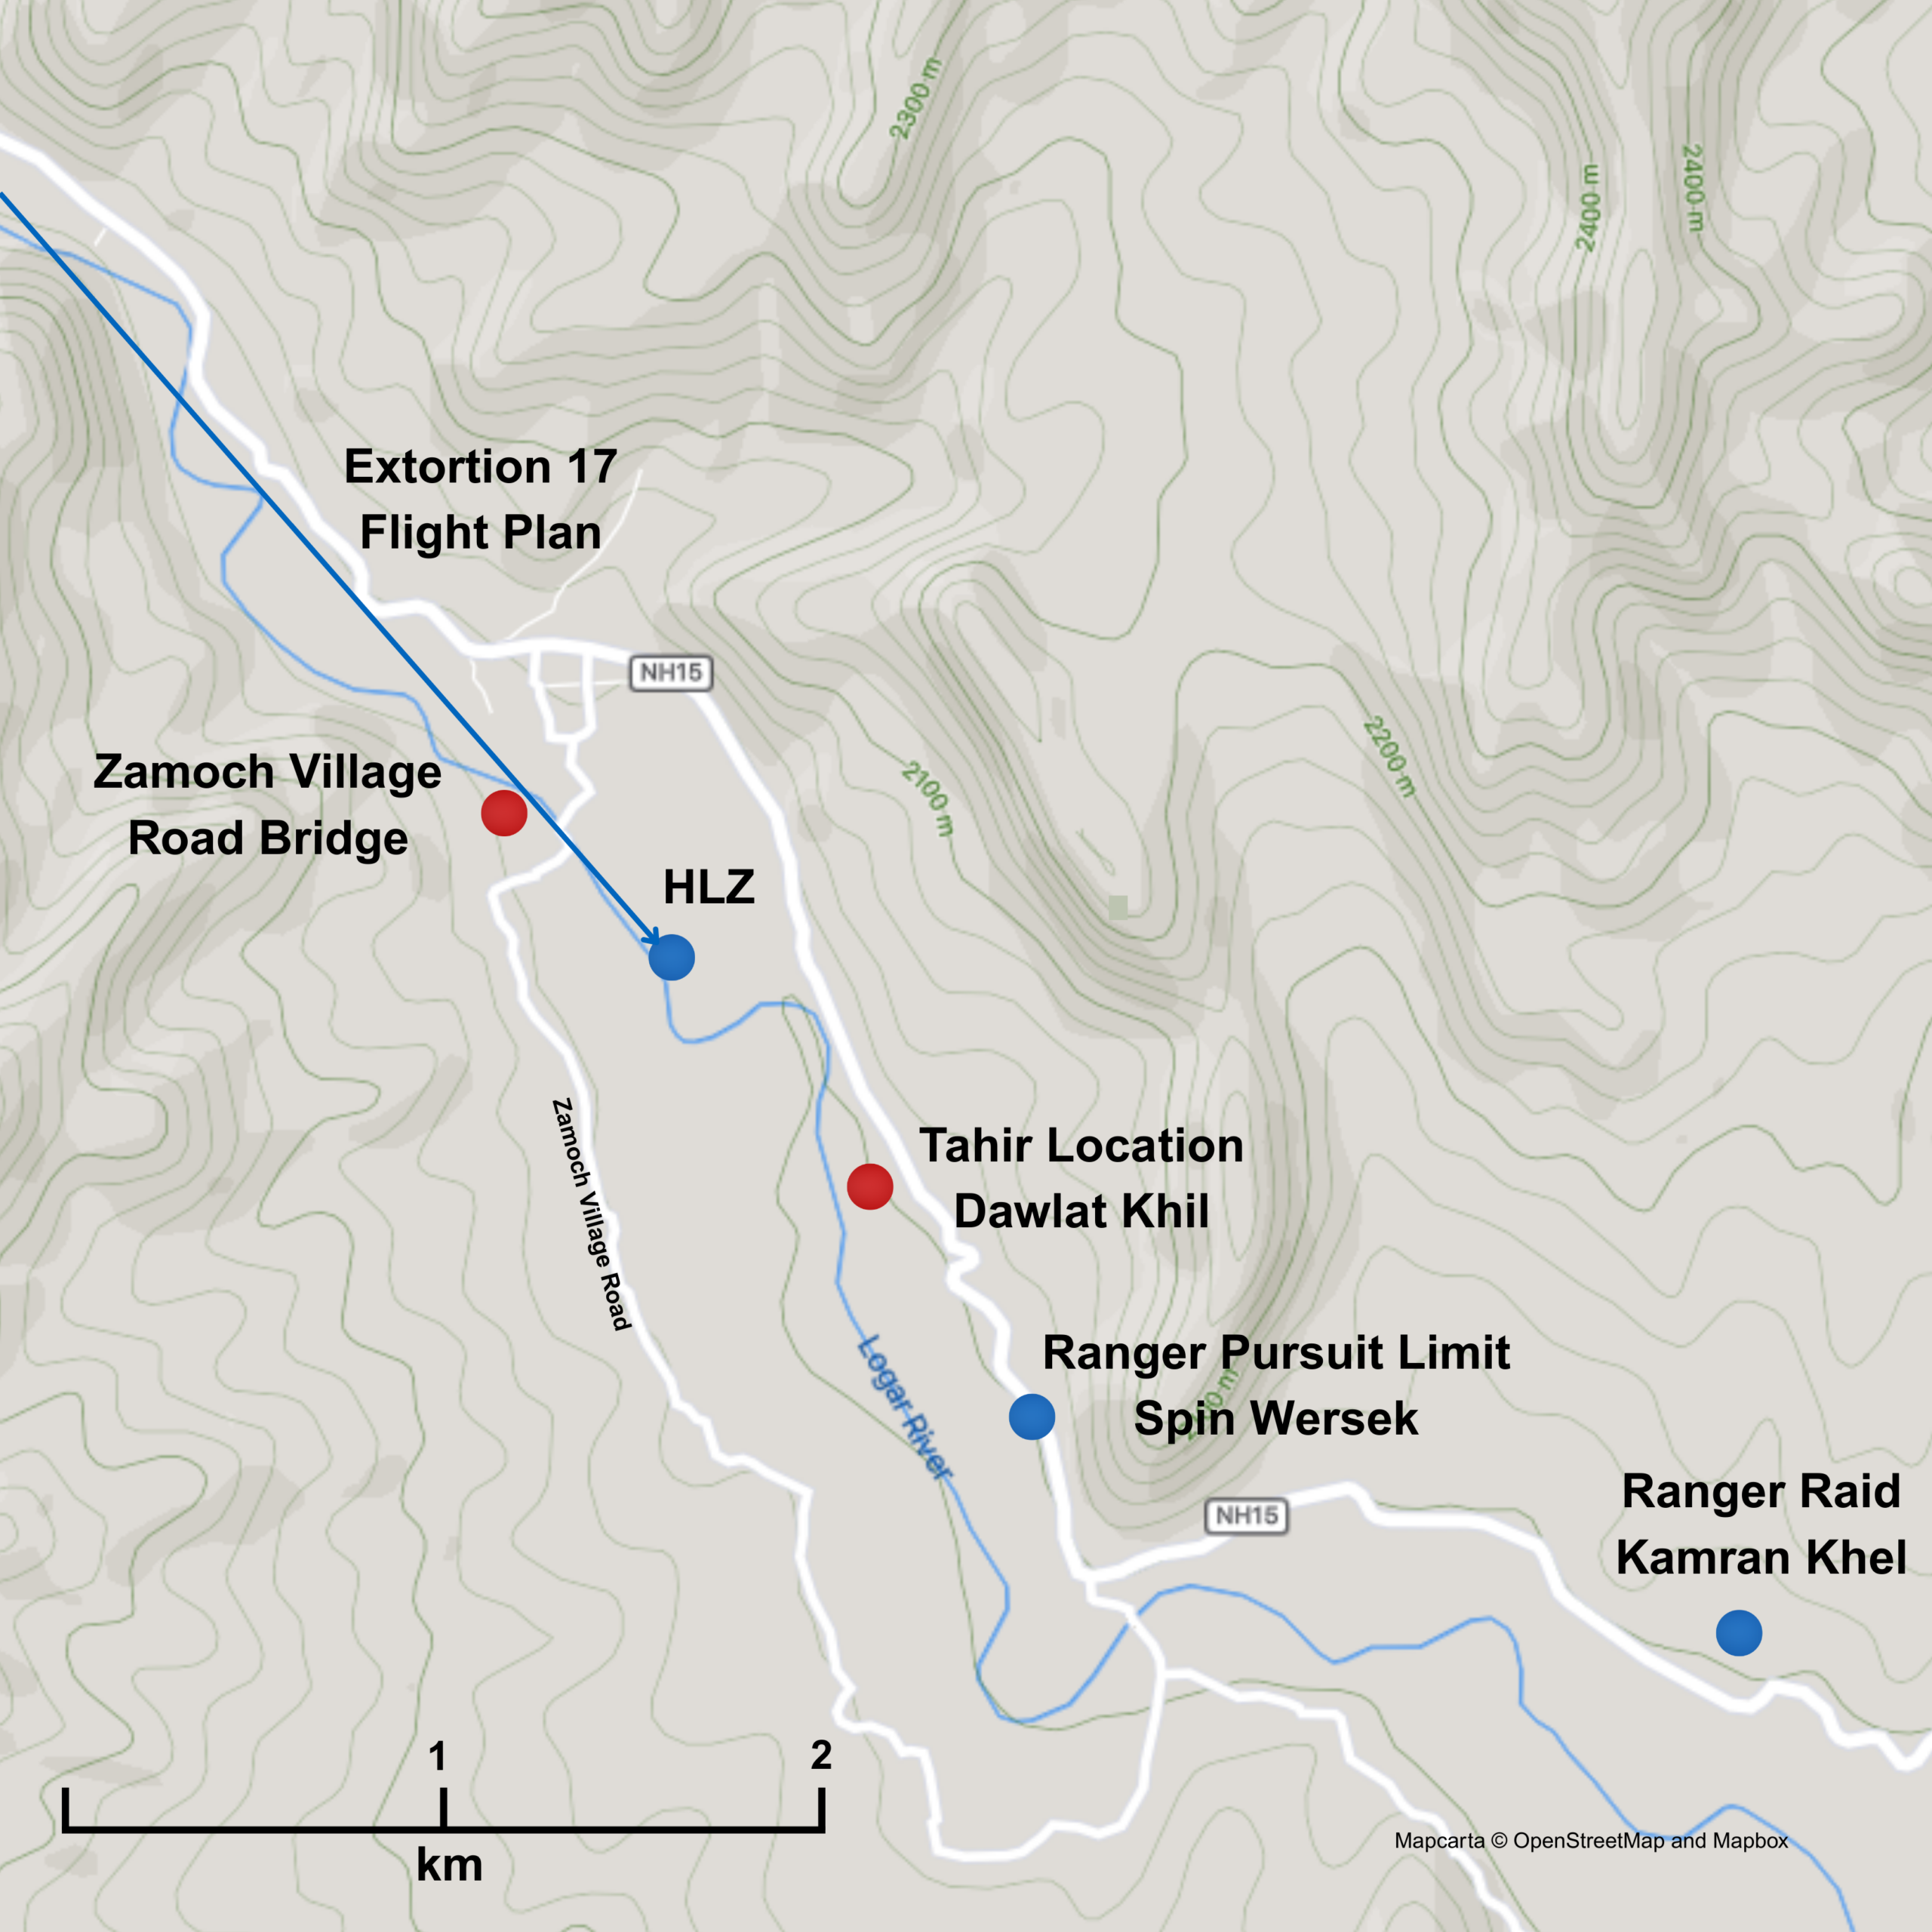
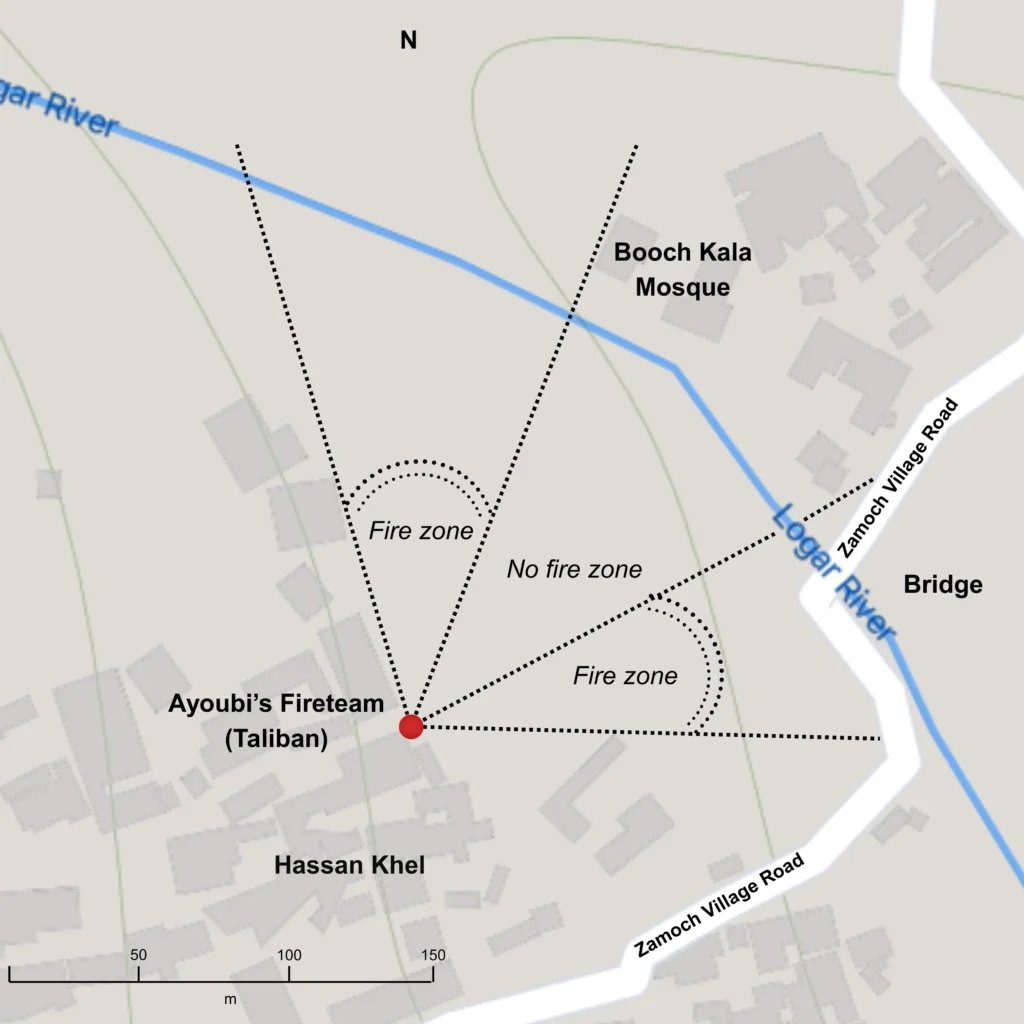
Fig. 2. The Taliban (Ayoubi’s) fireteam position in Hassan Khel, showing the bridge carrying the Zamoch Village Road and the team’s available arcs of fire. Ayoubi is in a qalat, a multi storey mud brick building with a tower. The mosque and other buildings limit Ayoubi’s zones of fire. Distance from the fire team to the centre of the bridge, and the river, 150m. Tahir is 1.4km south west of Ayoubi. Mapcarta © OpenStreetMap and Mapbox [Hi-Res]
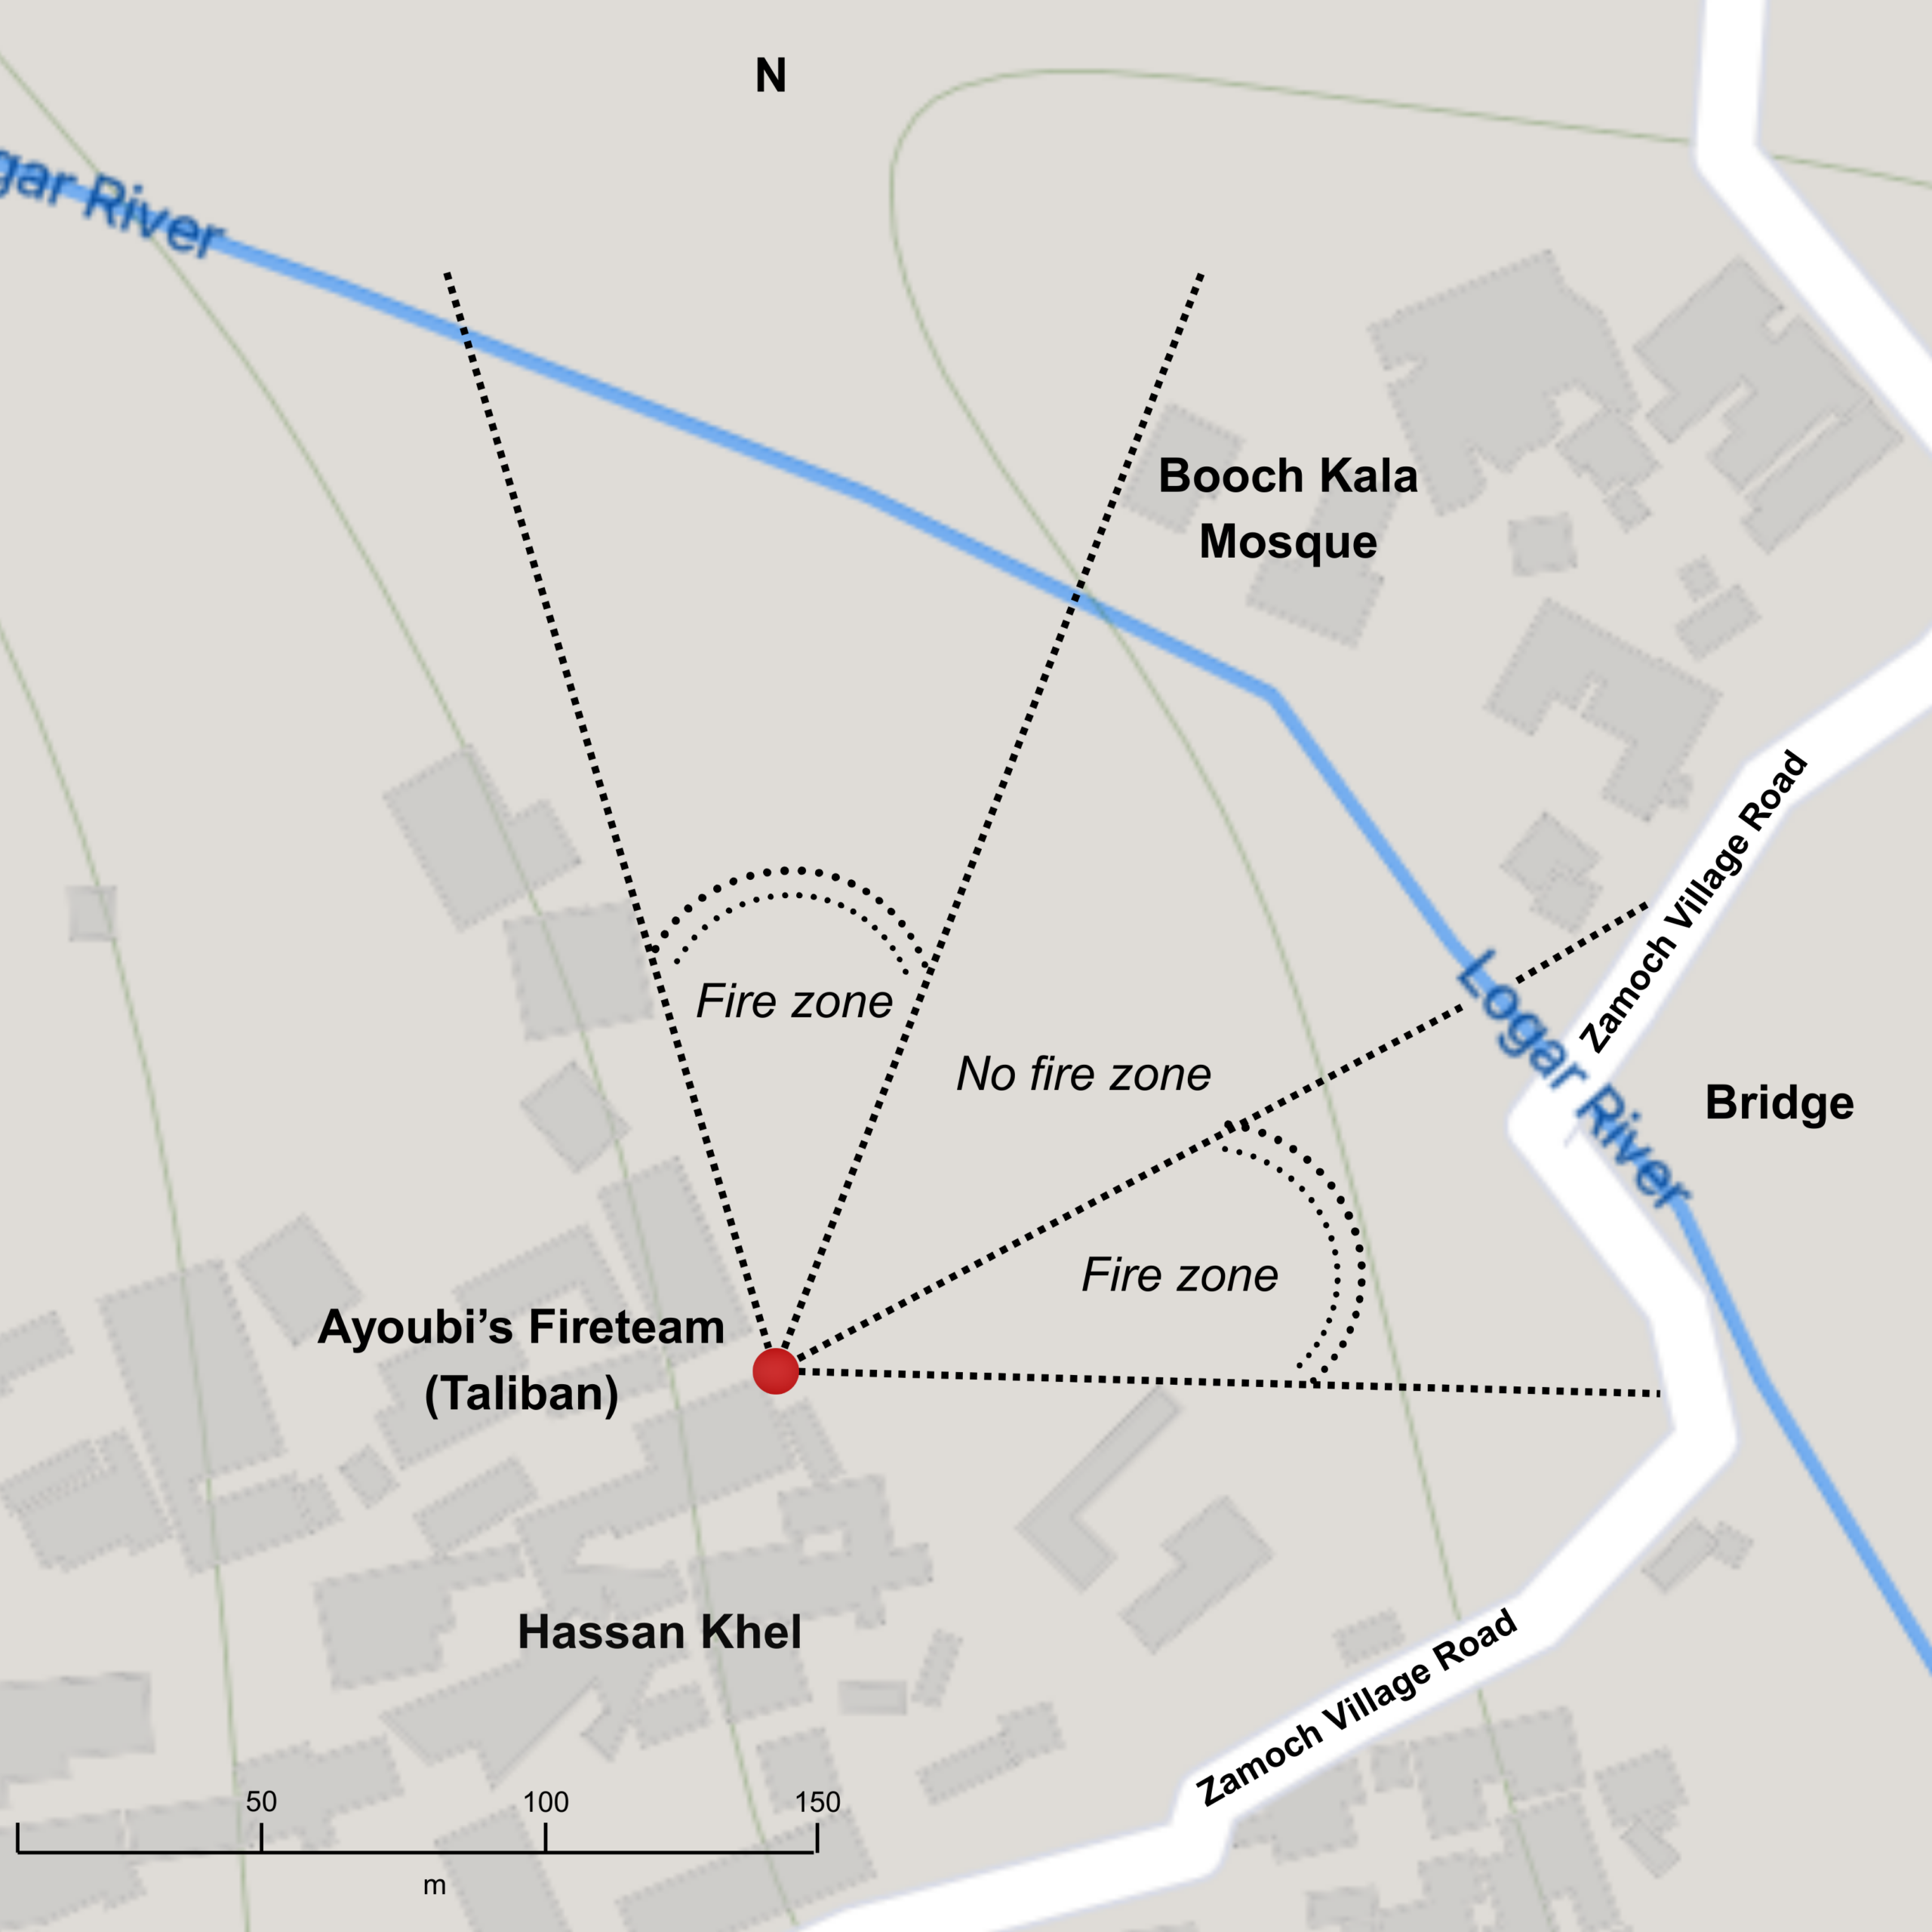
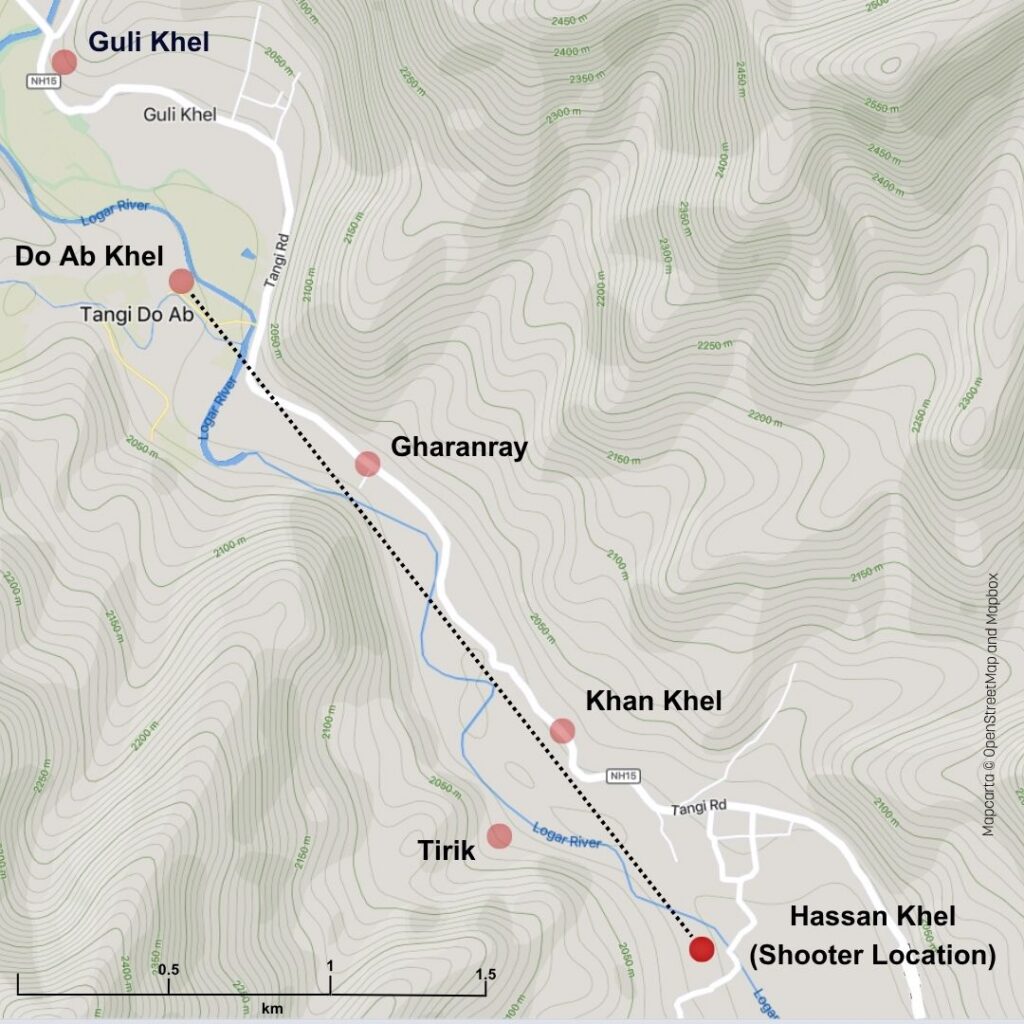
Fig. 3. View of assessed possible Taliban positions north west of the shooter, showing the likely control point at the Do Ab river confluence next to the main road, and another likely observation point at Guli Khel. It is 2.8km in a straight line from Do Ab to the Zamoch Village Road Bridge and the Taliban fire team at Hassan Khel. Line of sight shown. Note mountain ridgelines. Mapcarta © OpenStreetMap and Mapbox [Hi-Res]
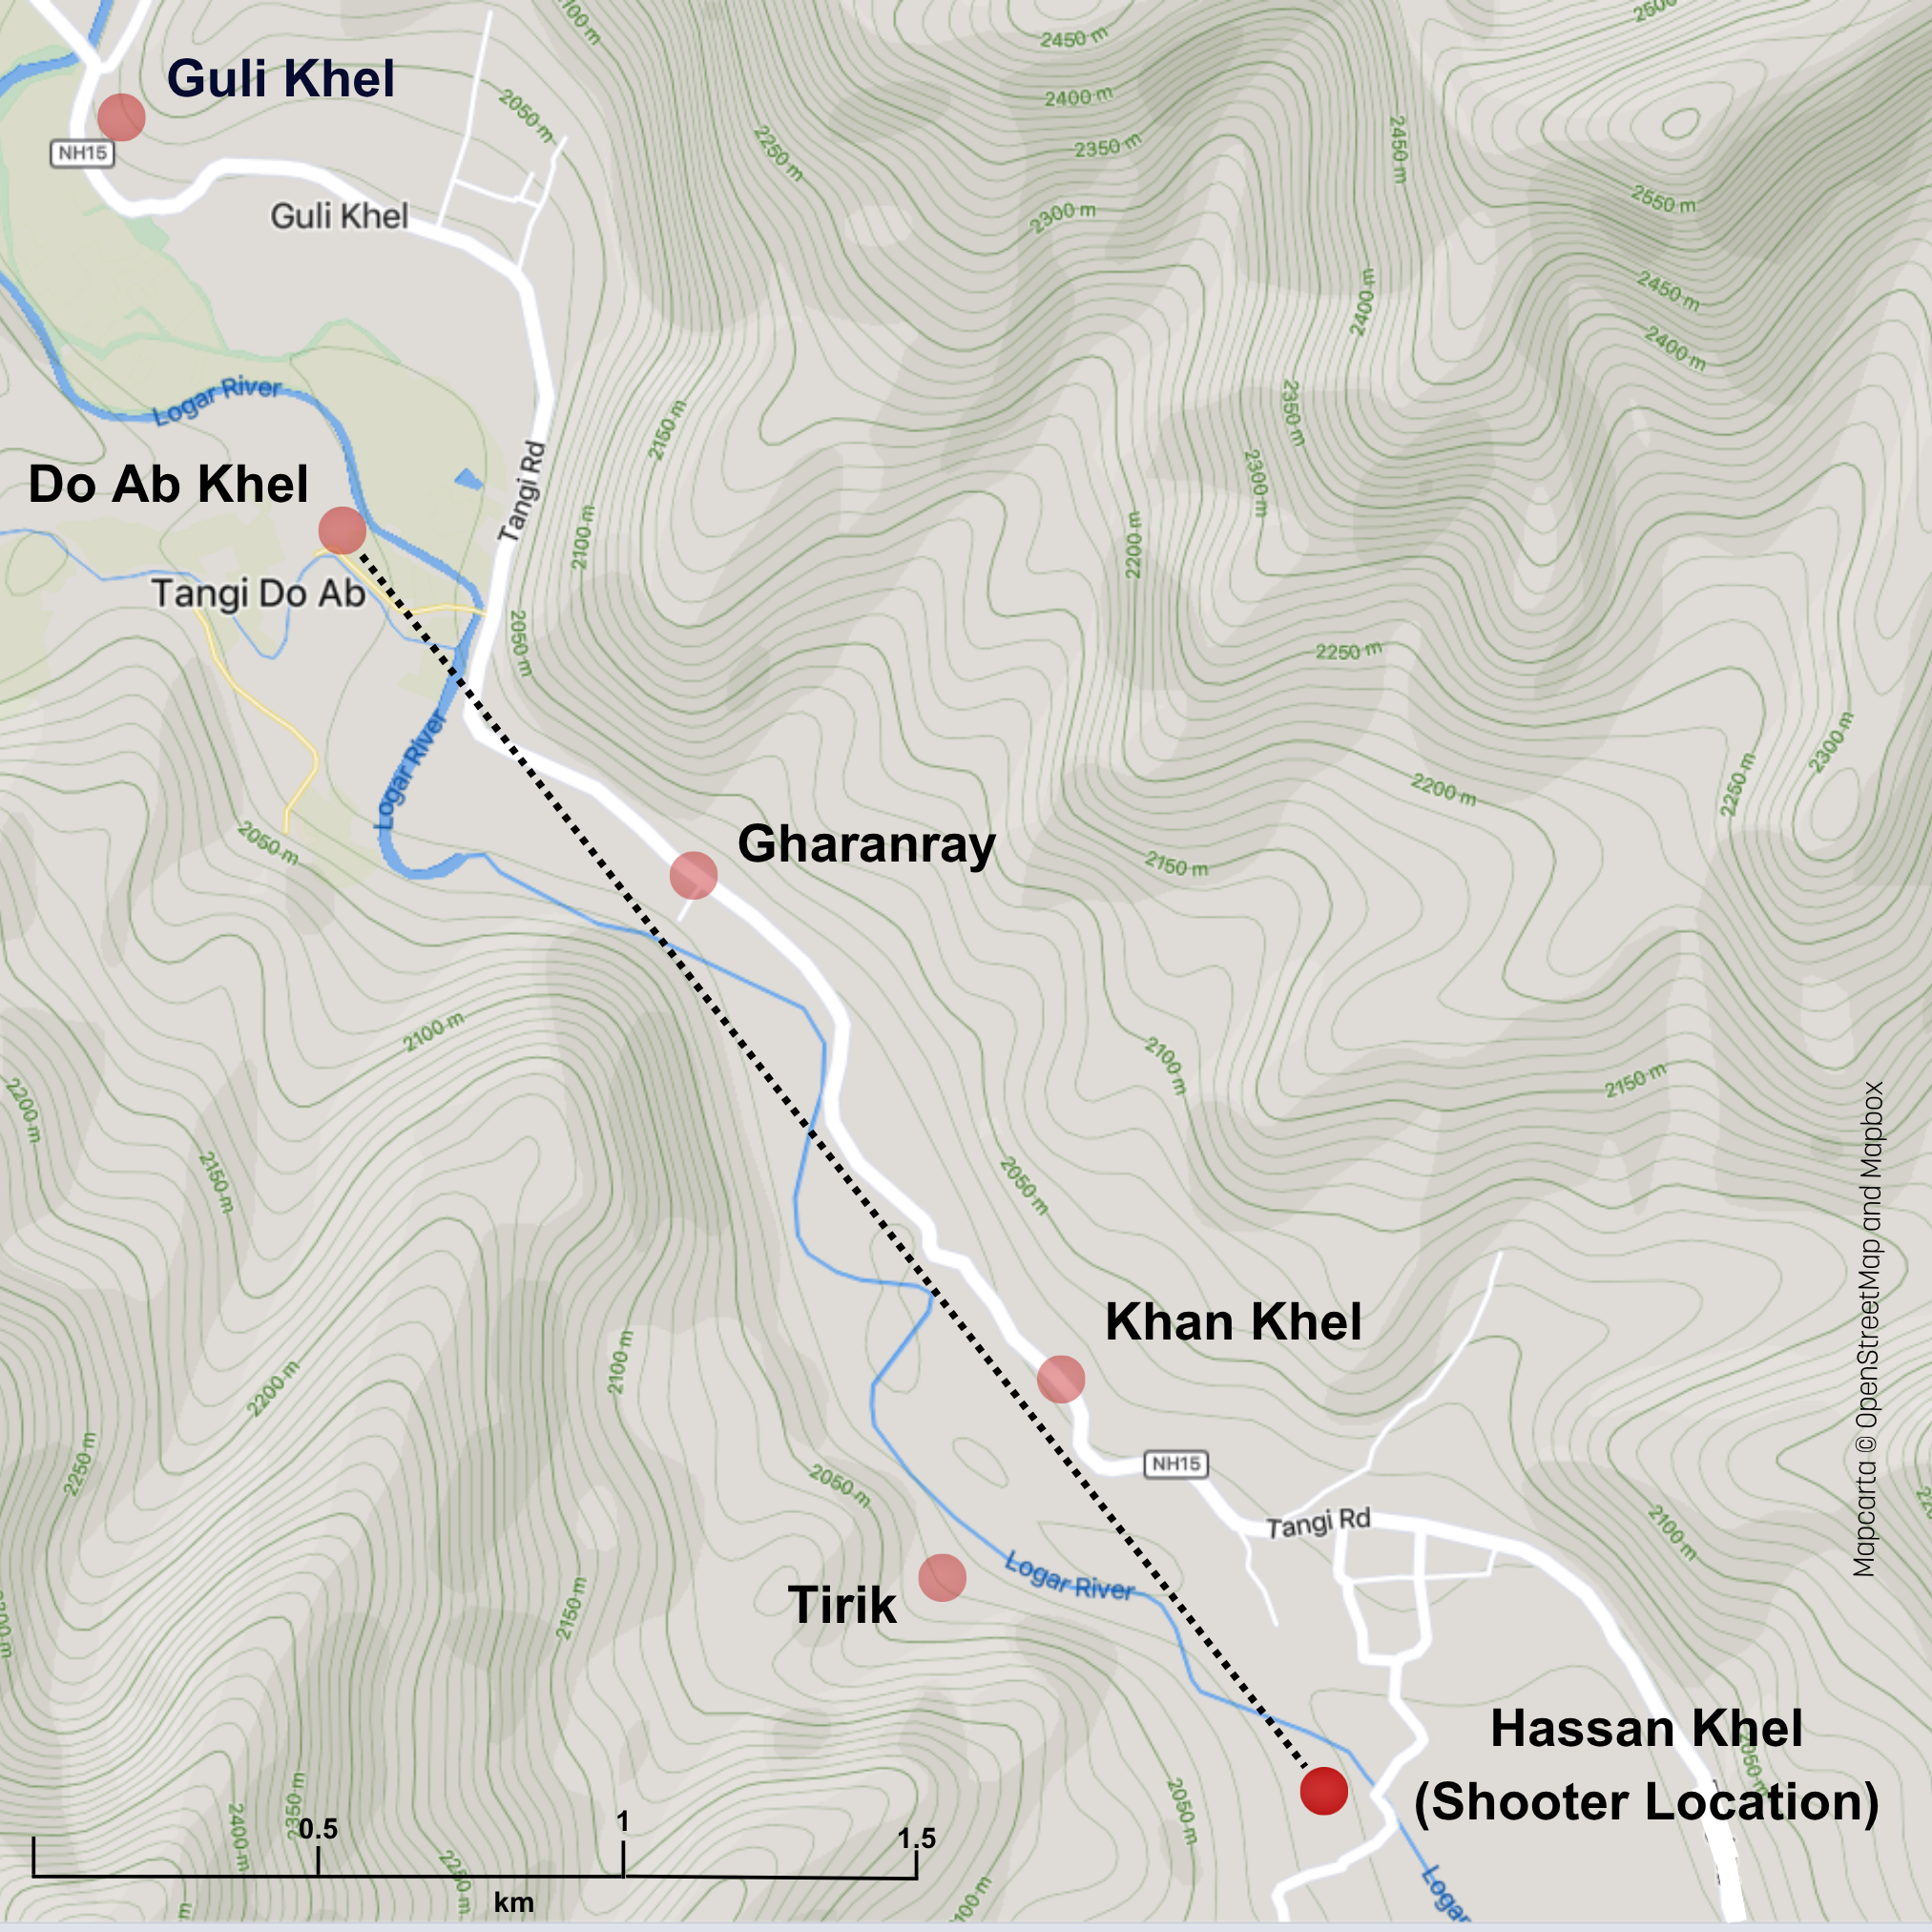
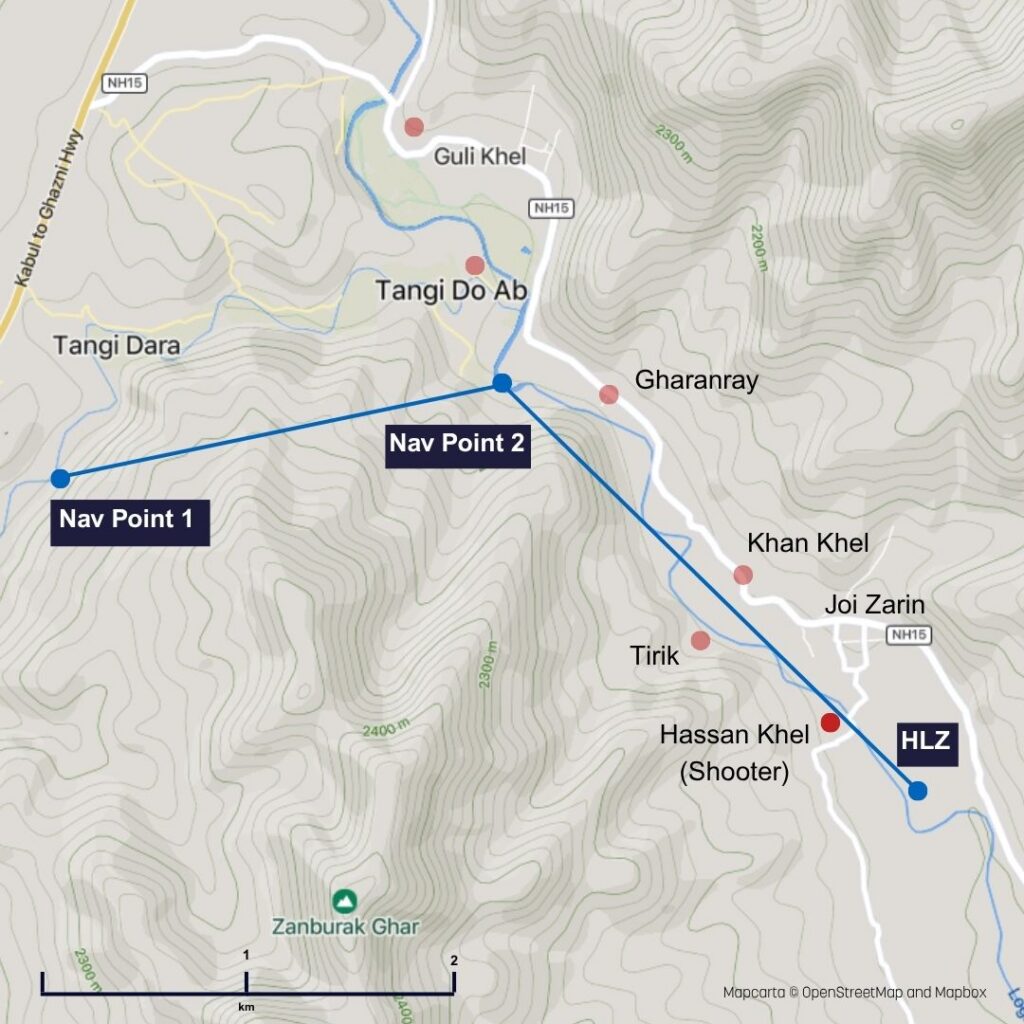
Fig. 4. Map showing Extortion 17 flight plan as given in the Colt Report in blue, tracking the ridge line south of the Tangi Dara valley before flying past Do Ab into the Logar River valley (the plan route nominally goes through the ridgeline: the helicopter would turn into the valley). Red dots are Taliban positions (possible or confirmed). Distance between the Nav point 1 and 2 is 2.1km. The distance from Nav 2 to the HLZ is 3.1km Mapcarta © OpenStreetMap and Mapbox [Hi-Res]

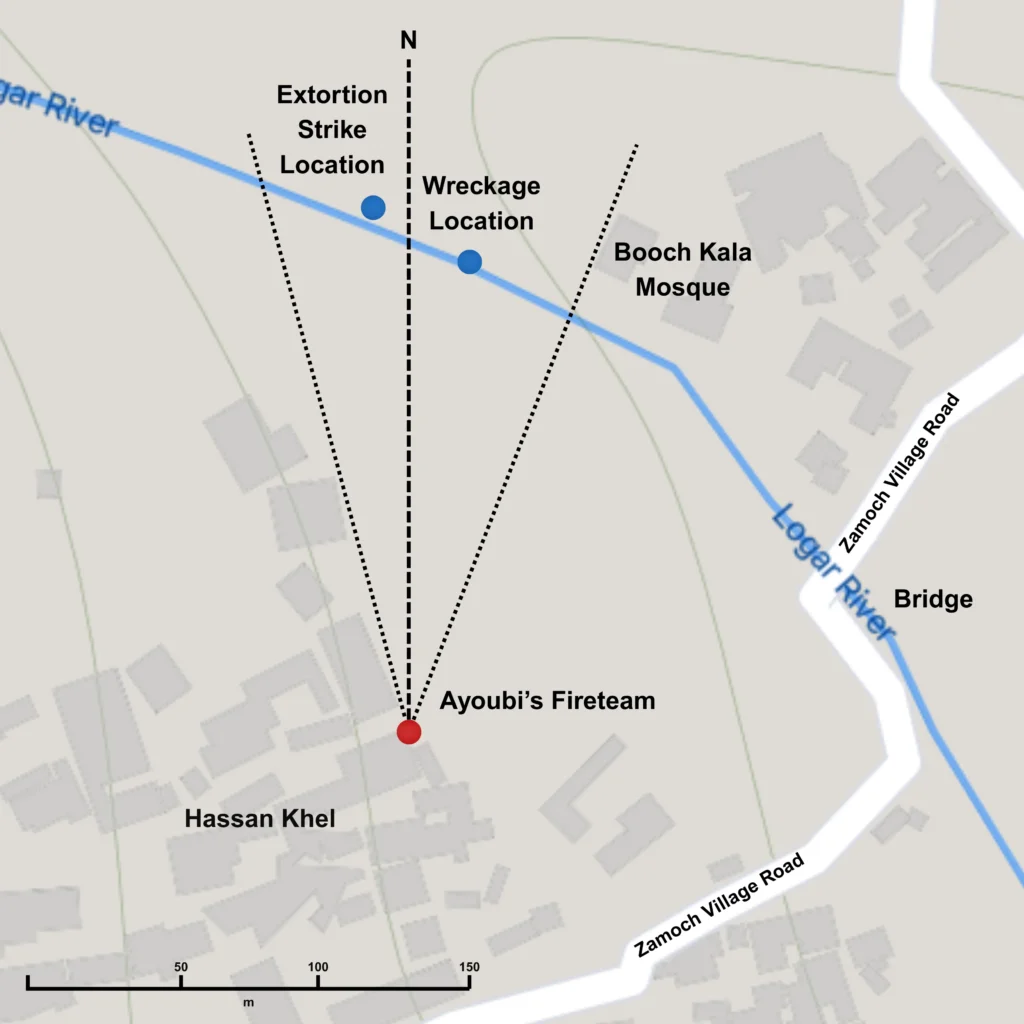
Fig. 5. Map showing shootdown area. Ayoubi’s team has to fire due north, (actual shot was ~3 degrees west of due north) to avoid hitting comrades likely positioned near the bridge and nearby buildings, including the local mosque. Arc limits shown in dotted lines. Distance between Ayoubi and strike is 190m. Helicopter was at ~50 knots, ~26 metres per second. Mapcarta © OpenStreetMap and Mapbox [Hi-Res]

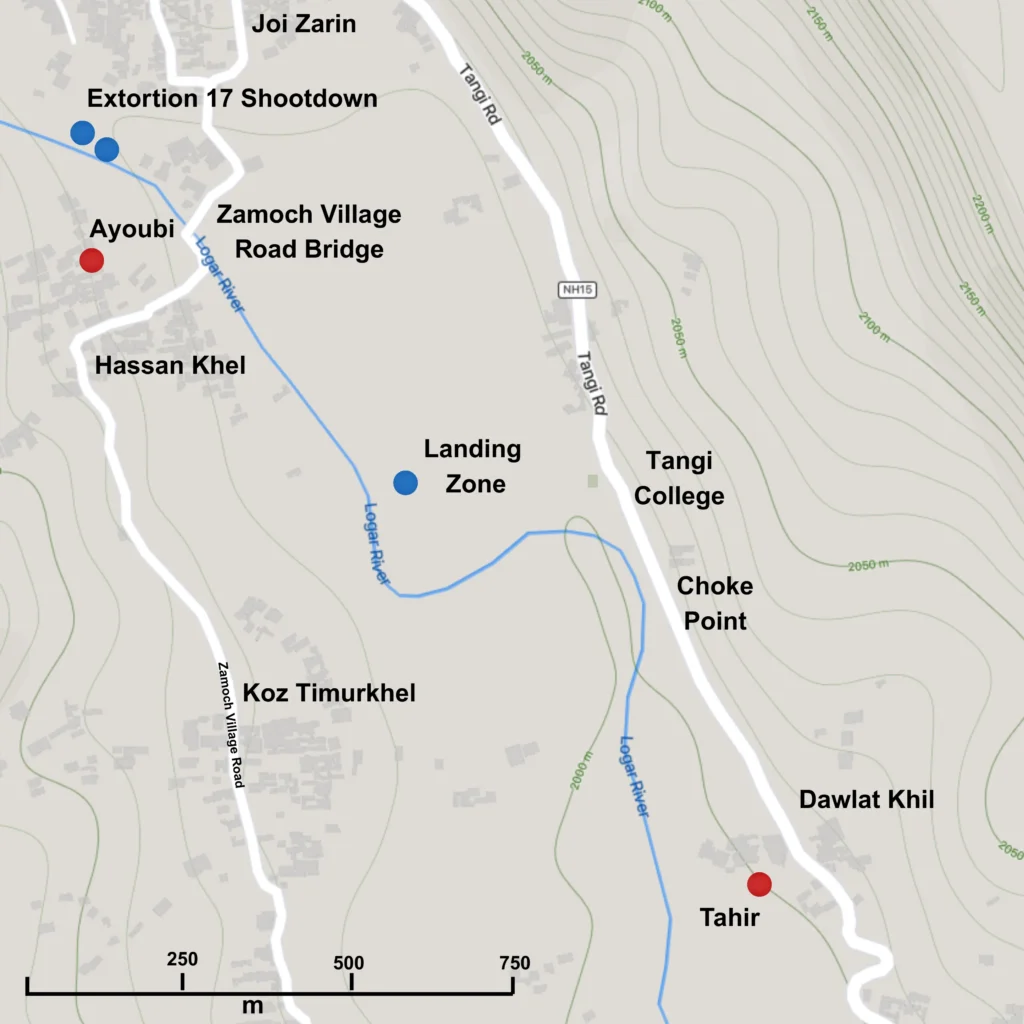
Fig. 6. Tahir’s challenge. If Tahir reaches the Zamoch Village Road bridge, 1.3km away to his northwest, he can link up with allies in Hassan Khel. He can then flee to Joi Zarin in the north, or Koz Timurkhel on the road heading south. He is 650m south east of a choke point where the river and road come together. Fields in the area have orchards providing concealment from US planes overhead. The Tangi road has very little cover or concealment, and has multiple IEDs: using it leaves Tahir exposed to air attack. Mapcarta © OpenStreetMap and Mapbox [Hi-Res]

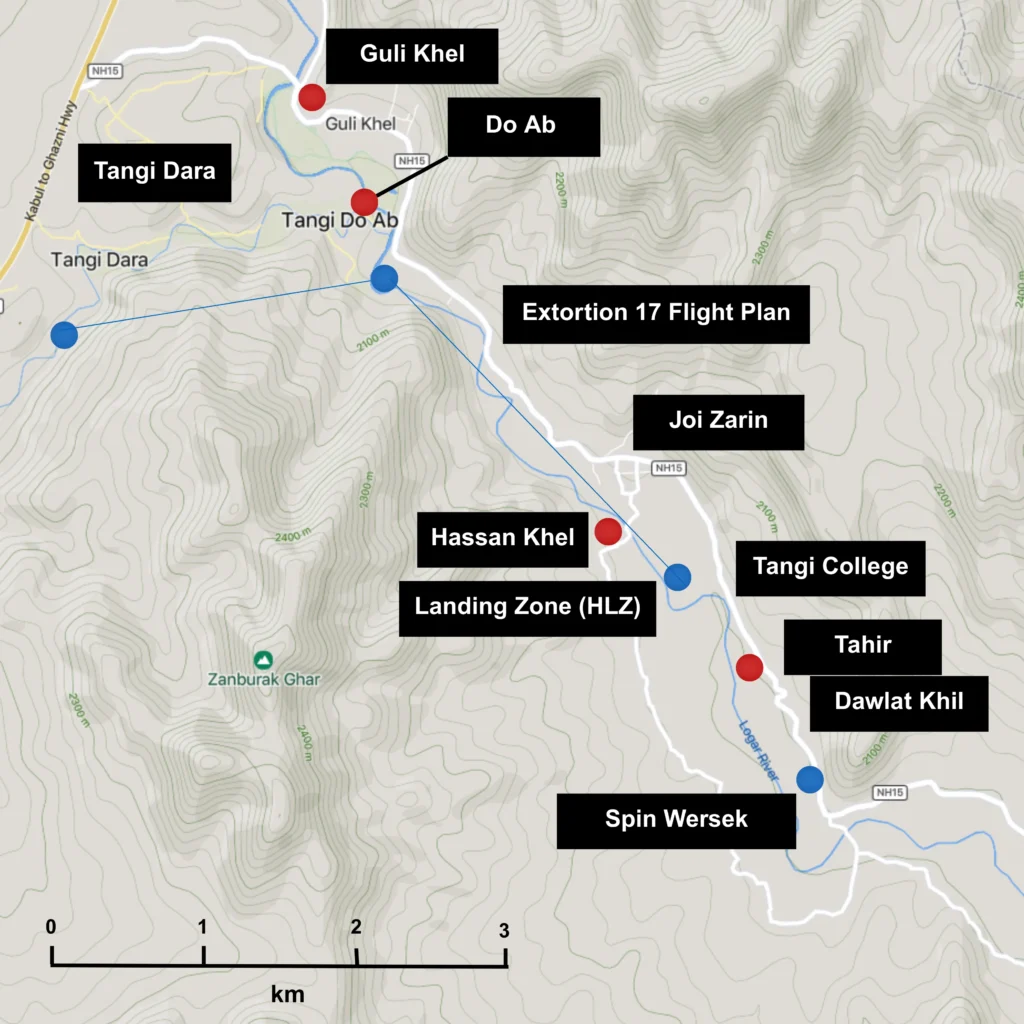
Fig. 7. Ground Force Commander’s Map: Walkthrough of Option 3 (go/no-go decision in the text). Taliban positions (likely or confirmed) in red. US positions and helicopter flight plan in blue. A combined view of all of the above maps. Mapcarta © OpenStreetMap and Mapbox [Hi-Res]
